How do I set up notifications and my home screen?
Under ⚙️ Settings (in the menu and via your name in the footer) you tailor how Planbiene looks for you and when it reminds you – the settings apply only to you, not to the whole family.
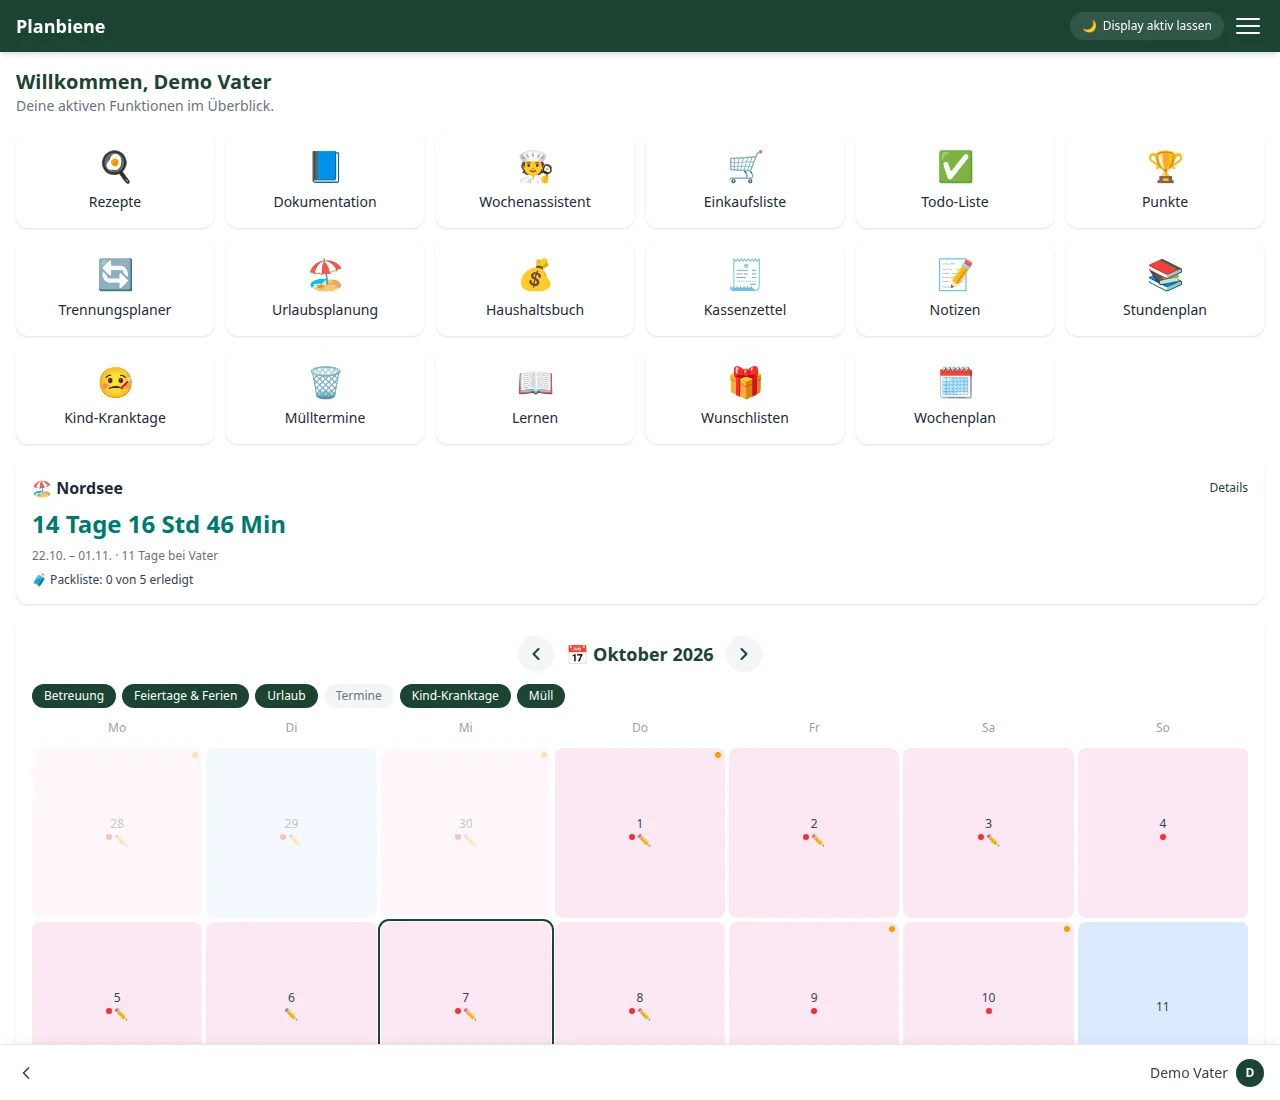
Step by step: Designing your home screen
- Open Settings.
- Go to the Appearance section and choose the theme: Light, Dark or Automatic (follows the device). The setting takes effect immediately, without saving.
- Switch to the Home screen section and choose which tiles appear (only enabled modules show up).
- Optional: Show family tasks on the home screen and the Appointment preview (1 to 14 days ahead).
Step by step: Notifications
- Open Settings · Notifications.
- Switch the event types on or off individually – from to-dos and swaps in the custody planner to calendar appointments, holiday planning and appointment reminders, as well as shopping list, weekly assistant and receipts.
- Click Enable push. The browser asks for your permission; if you grant it, you receive a test notification.
- Every device enables push independently – your phone and your tablet therefore have their own switches.
Account
In the Account section you change your first name, last name and e-mail address and optionally set a new password. Your user name is displayed but cannot be changed.
Calendar: The Calendar section is only visible to those who
have calendar rights (system or family administrator). There you store the
family calendars and the federal state for public holidays and
school holidays.
All the details are in the Handbook: Settings.