
🛒 Shopping list
The shopping list combines two kinds of entries: ingredients calculated automatically from the weekly plan and freely added, manual entries for everything that is not in a recipe – toilet paper, coffee, pet food and so on.
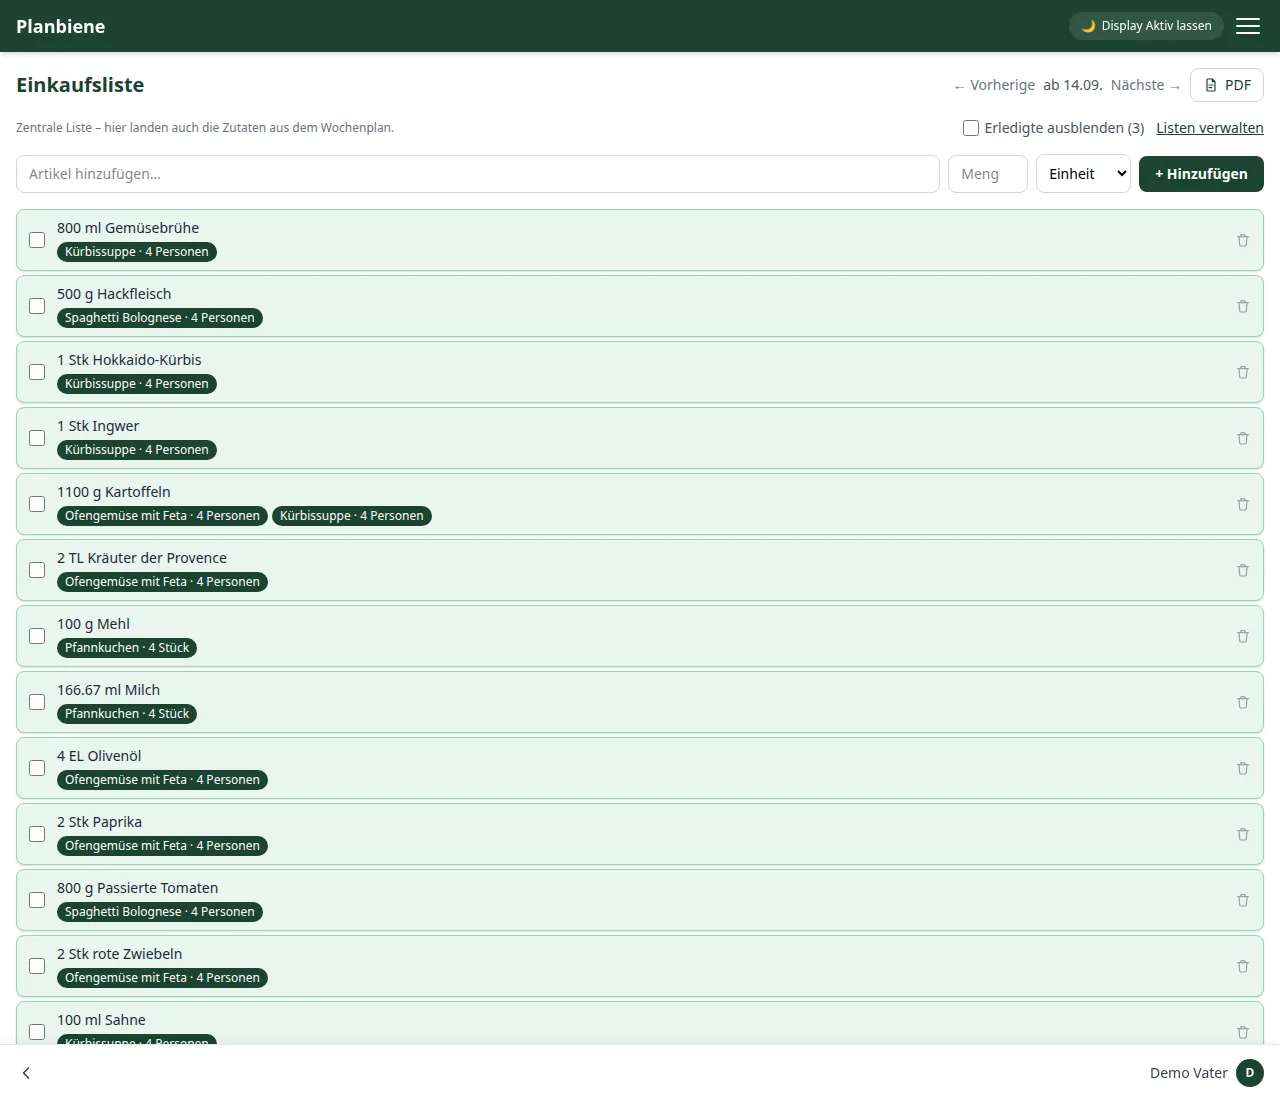
Automatic items
As soon as you create a cooking day with a recipe in the weekly plan, the matching ingredient appears in the shopping list for that week – with the combined quantity if several recipes use the same ingredient. Each item shows which recipe it comes from and for how many people; a click on the recipe badge takes you straight to the recipe. If you change the weekly plan afterwards, the list adjusts automatically without already ticked-off entries being lost.
Adding manual entries
- Open the Shopping list item in the menu.
- Enter a name in the Add item… field at the top – terms you have used before are suggested to you.
- Optional: specify quantity and unit.
- Click + Add.
Manual entries, unlike the automatic ingredients, are not tied to a specific week – they stay until you tick them off and clean up via Remove done items or delete them individually.
Several lists
Not everything belongs on the same piece of paper. Besides the central list you can therefore create further lists – one for the hardware store, one for the drugstore, one for the drinks shop. Above the input field all lists sit next to each other; a click switches, the New list field creates another.
- The central list always exists. Only the ingredients from the weekly plan end up in it, and only for that reason does it carry the week selection. It can be renamed, but not deleted.
- Own lists contain exclusively what you enter yourself. You can delete them at any time – the entries in them disappear with them.
- All lists belong to the whole family: what one person enters or ticks off, the others see.
Sorted by aisle
So that you can get through the shop in one sweep, Planbiene groups the list by aisles – from fruit & vegetables via the dairy aisle and drinks to household. Each aisle gets a heading with icon and count, the items sit below it. The order of the aisles follows the route through the store.
Each item has a selection field for its aisle on the right. New items are assigned automatically by keyword – milk lands in the dairy aisle, apples under fruit & vegetables. If something does not fit, simply choose another aisle: Planbiene remembers this for that term family-wide. Every future identical item – whether typed, from the weekly plan or spoken via Alexa – inherits the aisle, so the list sorts itself over time. Anything without an assignment appears at the end under No aisle.
Via Manage aisles you create your own aisles (with an optional icon), rename or delete them, or change their order with ▲ and ▼. When you delete an aisle its items are kept and then appear under No aisle.
Scanning a barcode
Instead of typing an item in, you can scan its barcode. Click the barcode icon at the top right of the header, next to the PDF button, and hold the product's barcode in the frame – the camera reads it automatically. Planbiene then queries an open product database and shows you the name, brand, quantity and product image. A click on Add takes the product onto the list.
If the database has more to offer, the window also shows you the Nutri-Score and the Eco-Score, the nutrition per 100 g and – where available – ingredients, allergens, labels and packaging. That way you can see what is in a product before you buy it.
Planbiene also shows the most recently reported prices from the open Open Prices database, each with the shop, country and date. These are community reports with no price guarantee; they often come from abroad and are not always up to date – but they can still be a useful rough guide.
Some devices (such as iPhones with Safari) cannot read barcodes automatically. In that case simply type the number below the barcode into the field by hand – it works just as well. And if the database does not know a product, you can type the name in yourself.
From the product category Planbiene suggests the matching aisle; you can still change it in the window. That way a scanned product usually ends up in the right aisle straight away.
Ticking off and cleaning up
A click on the checkbox marks an item as done (struck through). Via the Remove done items link below the list you can delete all ticked-off items in one go.
If you only want to see what is missing while shopping, tick Hide completed above the list – in brackets it shows how many items are currently hidden by it. The setting stays saved on your device and also applies to the PDF export: hidden items then do not appear on the sheet either. Nothing is deleted by that – that is what Remove done items does.
PDF export for ticking off
The PDF button at the top right saves the list currently on show as a PDF for download – two columns, with an empty box before each item for ticking off with the pen. For items from the weekly plan it says in small print underneath which recipes they come from; items already ticked off in the app get their tick printed along with them.